How To Wash Your Sew-In

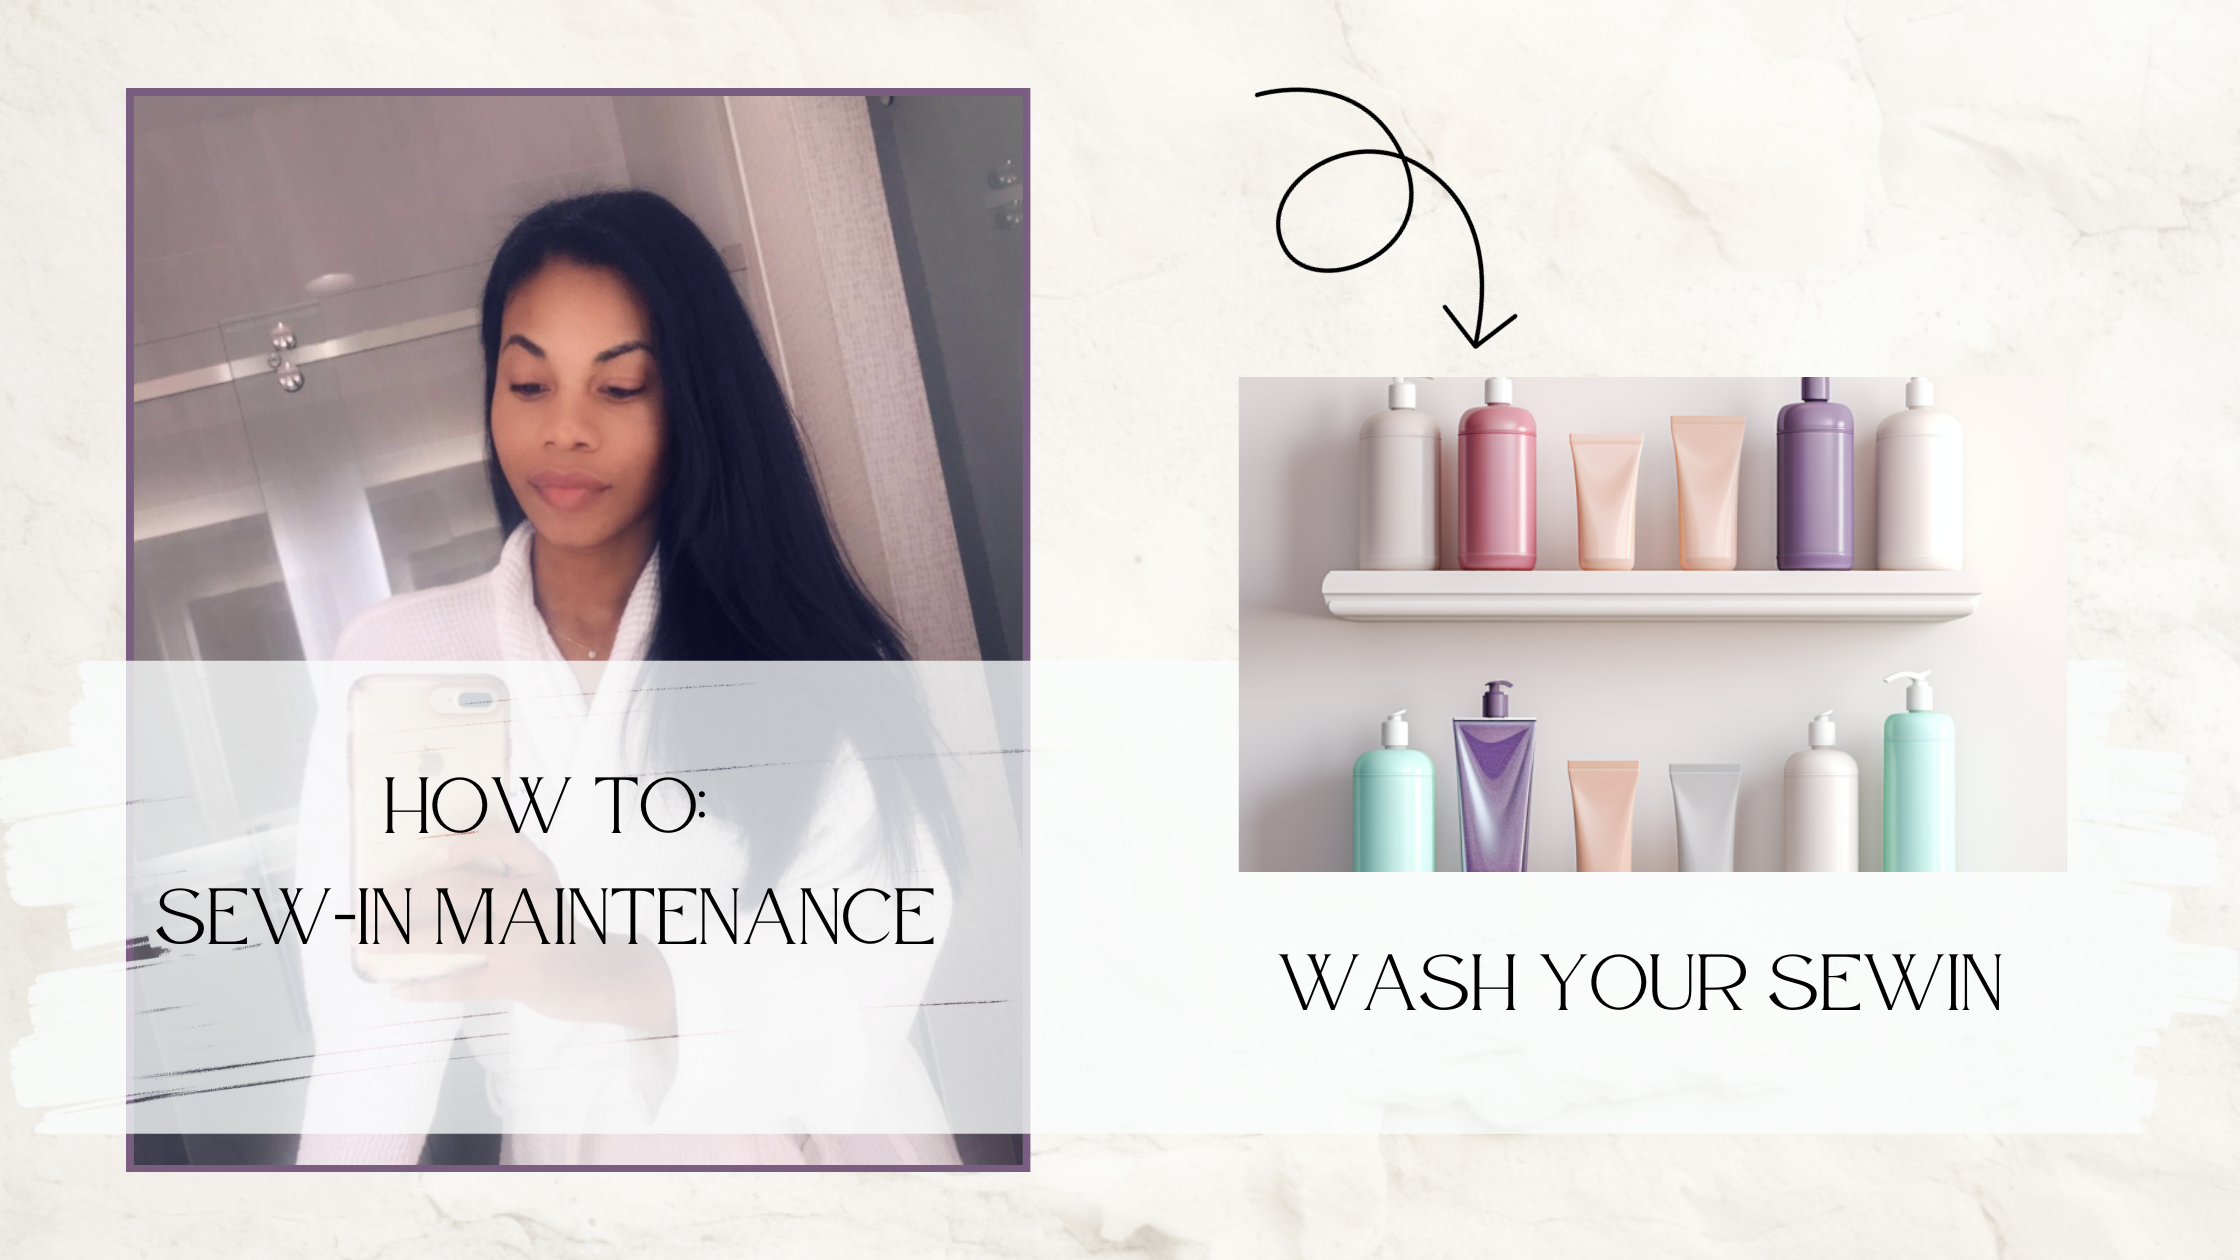
Have you ever gone days or even weeks without washing your sew-in at home due to the fear of loose, slipping tracks unraveling thread or simply the lack of knowledge on how to properly cleanse your weave and scalp? Well look no further and read on for tips to cleanse, refresh and maintain your sewin.
7 helpful steps to wash your sew-in
- Detangle and saturate: The first step to properly cleanse your weave, is to detangle your natural hair and the extension hair, after detangling proceed to rinse and completely saturate your hair with water thoroughly for about 60 seconds. Once your hair is thoroughly rinsed it is now ready for shampooing.
- Shampoo: Use a sulfate free shampoo (or clarifying shampoo if you have a lot of buildup.) If you’re washing your hair once a week a sulfate free, moisturizing or hydrating shampoo will thoroughly aid in cleansing your sew in. Work the shampoo into your hair evenly, while finger combing through the hair to make sure the product is evenly dispersed throughout the hair strands, rinse and repeat the shampooing 2-3 times. Shampoo the base of your sew in, your braids and the weft of the hair with an applicator bottle with a fine tip nozzle. Place your shampoo of choice in the applicator bottle and dilute it with water, swirl the mixture and then apply it to the base of your sew in. Begin to use your fingers to work up a lather and massage your scalp for 1-2 minutes.
- Rinse: After shampooing your hair 2-3 times, rinse your hair for 1-2 minutes making sure that you completely rinse the product out of your hair. Once your hair is thoroughly rinsed, apply your conditioner around your hairline, leave-out and braids of the sew in, apply a little conditioner on the hair weave extensions as well, finger comb your hair working the conditioner throughout your natural hair, and the extension hair.
- Deep condition: After applying the conditioner use a clip to secure your hair, then place a plastic processing cap on to your hair, make sure to fully cover the hair including your hairline/edges. Use a hooded hair dryer to sit under for 25-30 minutes, the heat will open the cuticles of the hair making it easier for the moisture from the water and product to settle in underneath the hair shaft. After your deep conditioning is complete, thoroughly rinse the hair for 1-2 minutes.
- Rinse: Rinse the hair for 1- 2 minutes with lukewarm or cool water, towel dry the hair and then spray thermal protectant onto your hair, use a wet-brush or wide-tooth comb to detangle and section the hair to prep for the blow-dry.
- Dry: There are several ways to dry your weave, the most effective way is to sit under a hooded dryer, make sure your hair is properly sectioned so that each section has a chance to dry. If you still have damp areas after sitting under the dryer for 30 minutes, you may take a hand held dryer on low heat and target the damp areas aiming the dryer to those specific areas. Once your hair is completely dry you may proceed to styling.
- Style: Spray a little heat protectant on your hair and then utilize a flat iron to straighten and smooth out your natural hair along with the extension hair. "Voila!" you now have a clean and fresh sewin!
Read on for BONUS TIPS:
- Detangle – use a detangling brush, and detangling solution to easily detangle your hair, the Wet-brush or a paddle brush works well for detangling. Also be sure to start at the ends of the hair and work your way up to effectively detangle your hair.
- Shampoo- For scalp buildup, use an apple cider vinegar rinse apply it directly to the scalp with an applicator bottle that has a nozzle on it, or use a salicylic exfoliating scalp treatment to clarify the scalp, follow up with a clarifying shampoo and then a moisturizing shampoo. Thoroughly rinse the hair and follow up with a deep conditioning treatment.
- Deep condition- Do not skip this part! This is the most crucial part to adding moisture back into your hair. If you do not have a hooded dryer or a steamer to sit under, you may use a processing plastic cap over your head, protect your forehead and ears with a dry towel, carefully steam your hair with a hot towel, place it over the plastic cap, let the steam towel sit until it cools and then repeat 3 times. The heat and steam will assist in opening the cuticle of the hair.
- Rinse- rinse all remaining product out of your hair, rinse for about 2 minutes ensuring that all the product is out of your hair.
- Dry – section your hair to allow for even distribution of the air. Tip: create sub-sections, every 5-10 minutes if you’re sitting under a dryer, this simple tip will enable the air to access more areas of the hair, therefore an increased opportunity for each strand to dry.
- Style- if you dont want any heat on your hair, you can always do a wet-set or create two cornrow braids or twists and allow your hair to air-dry in a wavy style, be sure to use a setting product to hold the style and to tame frizz, comb through and brush the hair, begin to make neat braids and allow the hair to air dry for the day, do not go to sleep on wet hair. Allow your hair to dry throughout the day, in most cases this you'll need the full day to air-dry your hair. To my Florida and California clients, you’ll have plenty of opportunity for air drying your hair, thanks to the hot climates, heat waves, and year round sunshine and warmth!
To those with special time constraints or just simply want the luxury of in-salon maintenance with professional and efficient results, be sure to book your follow-up and maintenance appointments here!
Leave a comment
Comments will be approved before showing up.


Gloria Kelley
Author
Gloria Kelley is a professional hairstylist who specializes in healthy-haircare, hair weaving, and wig-making.